
Client Introduction
ClashX Pro
ClashX Pro is a macOS menu-bar client for managing hosted profiles, proxy nodes, and system proxy, suited to users who need richer menu controls.
Get subscription
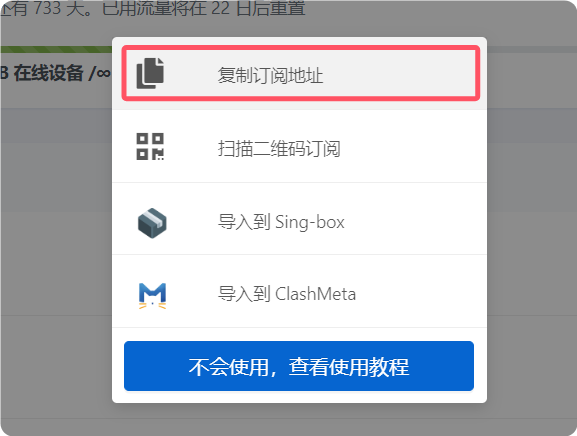
Copy the subscription URL from your provider.
Add subscription
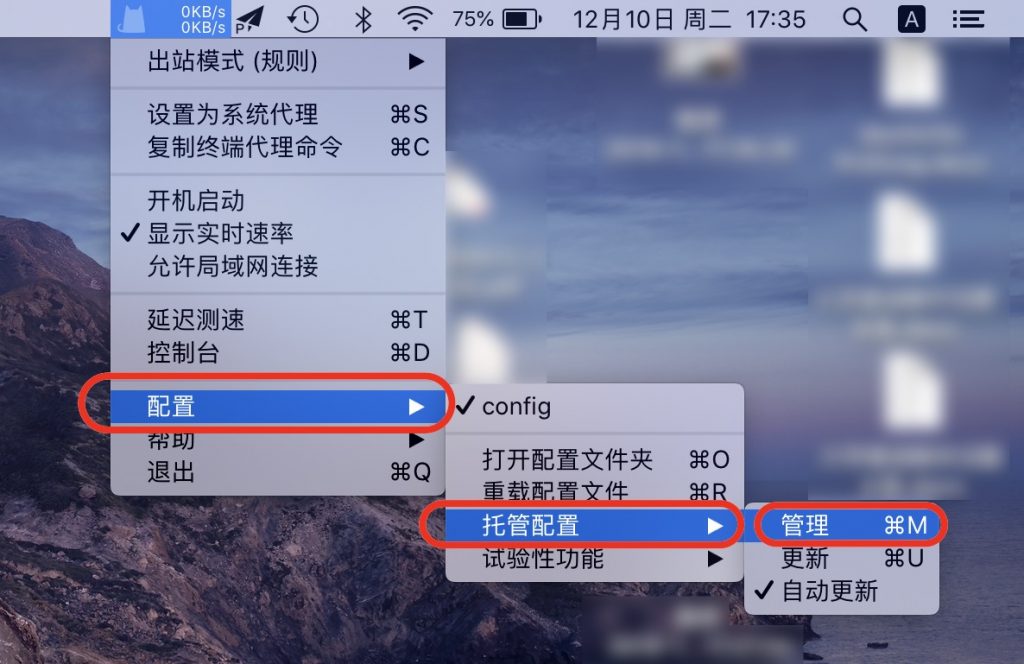
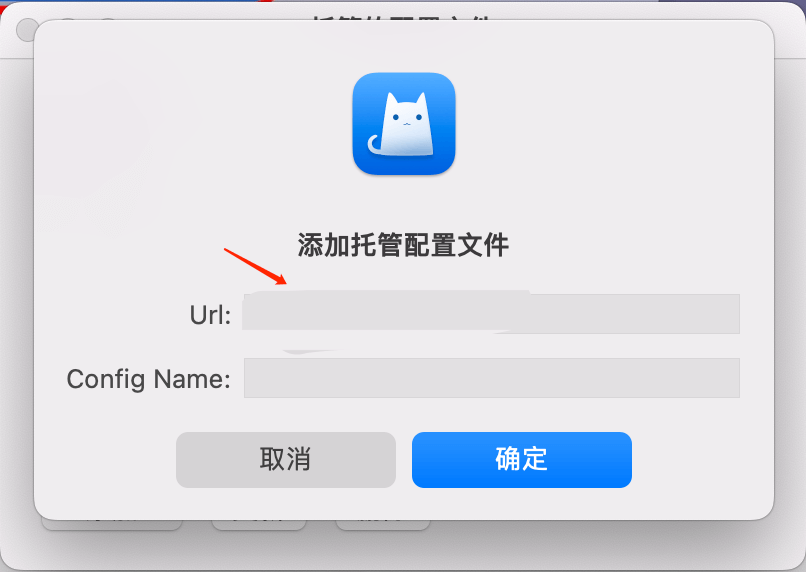
After starting ClashX Pro, click the menu-bar icon and choose Config > Remote Config > Manage. Click Add in the dialog, paste the subscription URL, enter any name, and confirm.
Select profile
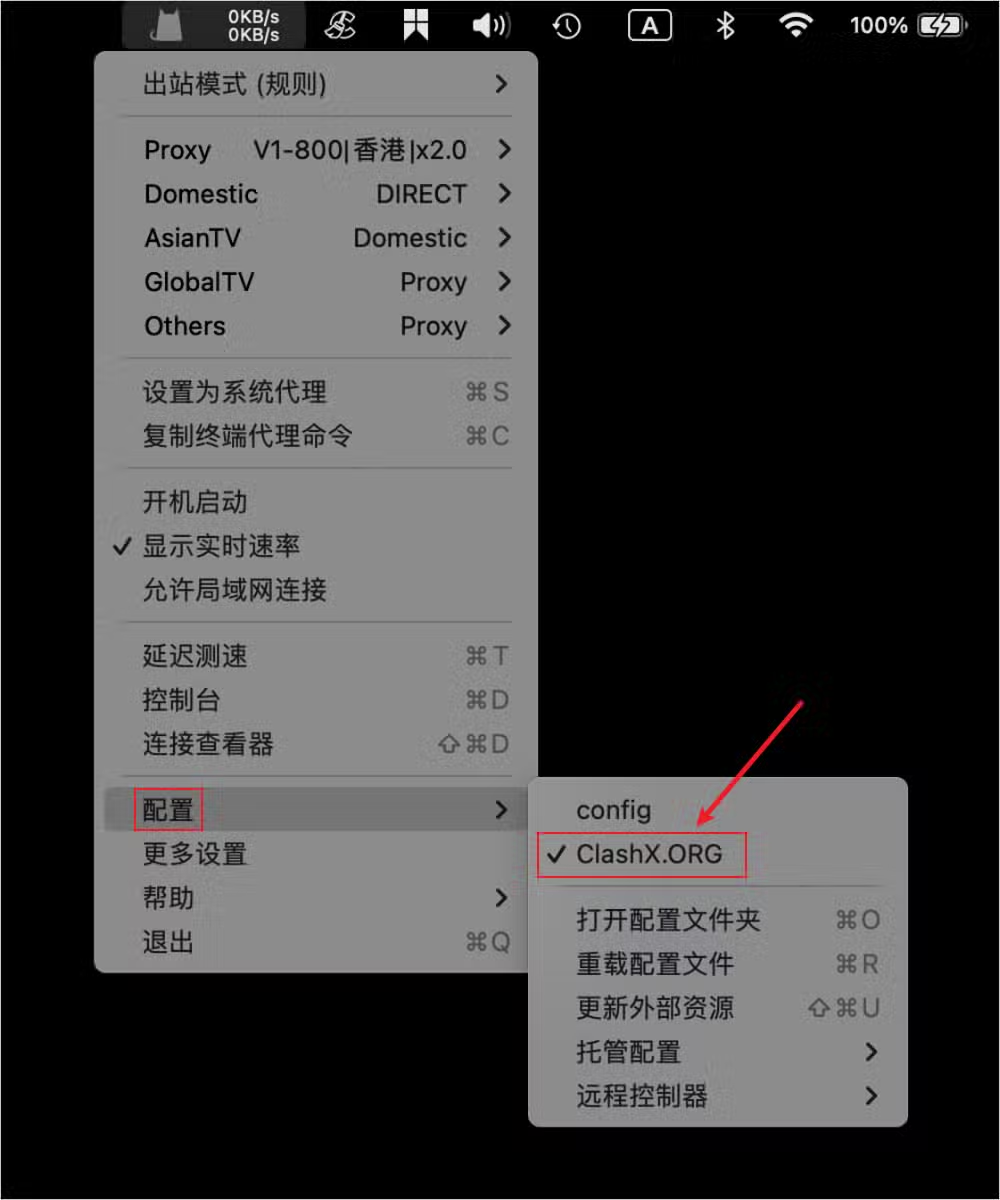
Click the menu-bar icon again and select the newly added profile from the Config submenu.
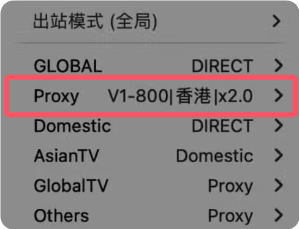
Select node
Choose the route you want from Proxy in the menu-bar menu.
Enable proxy
Click Set as System Proxy to start using it. The status-bar icon changes color and shows live speed after activation.

Outbound mode notes
The reference explains Rule, Global, Direct, and Script/custom modes. Use Rule for daily routing, Global for all-traffic proxy cases, Direct to temporarily bypass proxy, and Script for advanced routing.
- Rule: decide proxy or direct by domain, IP, GeoIP, and other rules.
- Global: route all network requests through proxy.
- Direct: connect directly to destinations.
- Script/custom: define advanced routing logic with scripts.