
Client Introduction
Clash Nyanpasu
Clash Nyanpasu offers a cross-platform desktop proxy workflow: download subscriptions in Profiles, enable system proxy in Settings, and switch nodes in Proxy Groups.
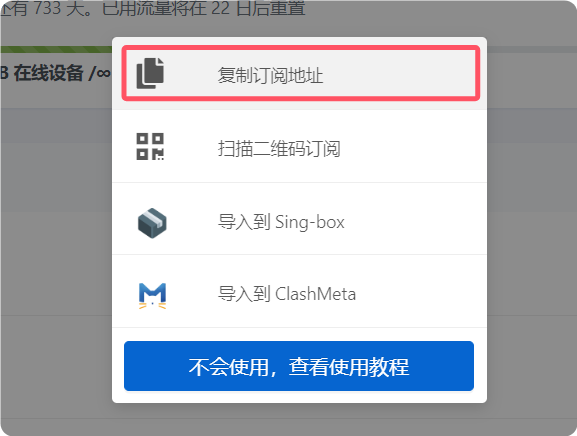
Get subscription
Copy the subscription URL from your provider. The reference uses URL-based import.
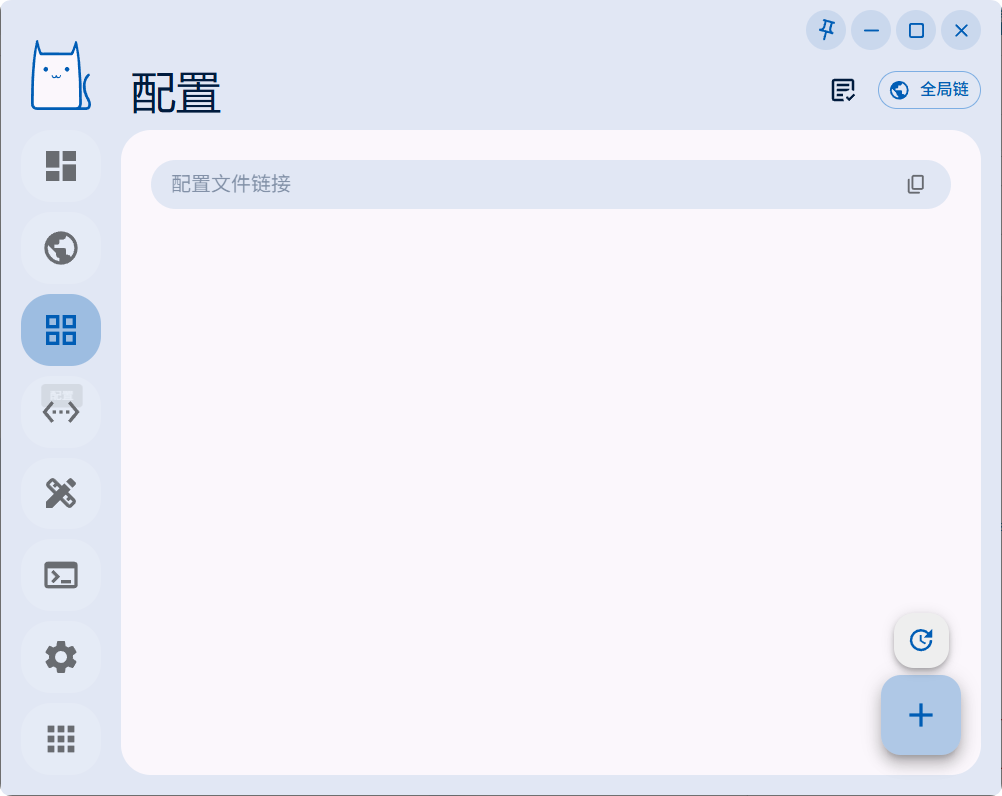
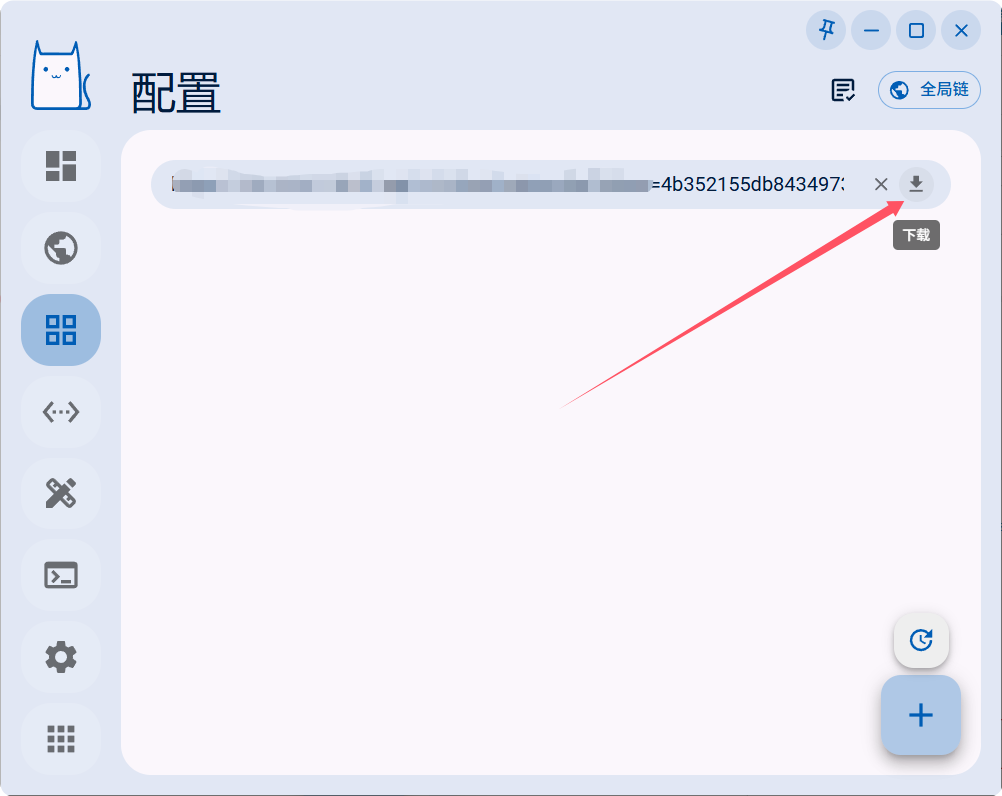
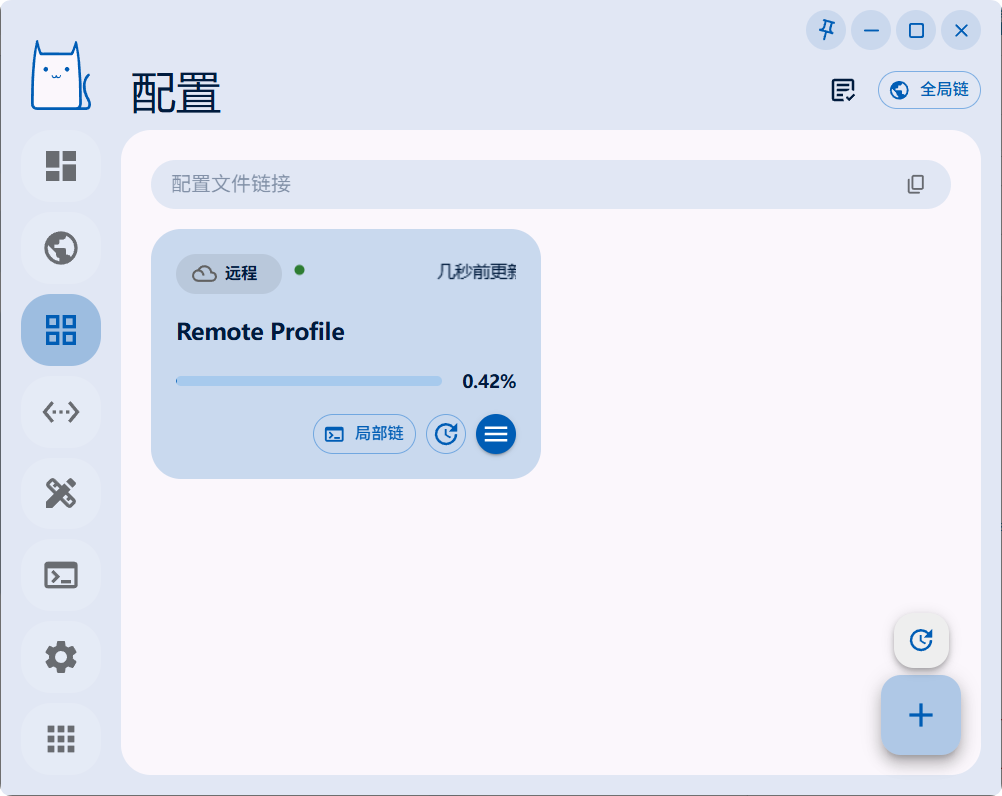
Import subscription
Start Clash Nyanpasu and open Profiles from the left side. Paste the subscription URL and click Download, then wait for the profile to import successfully.
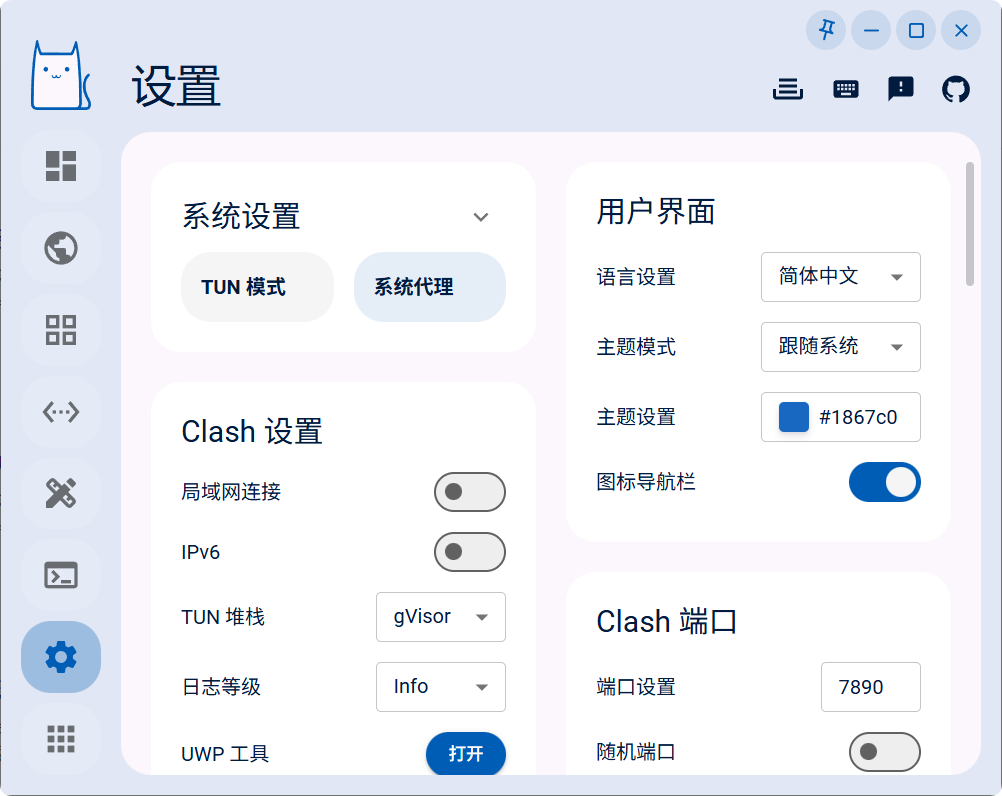
Enable system proxy
Click Settings in the lower-right corner and enable System Proxy under system settings. Traffic will be routed through the active Clash Nyanpasu profile.
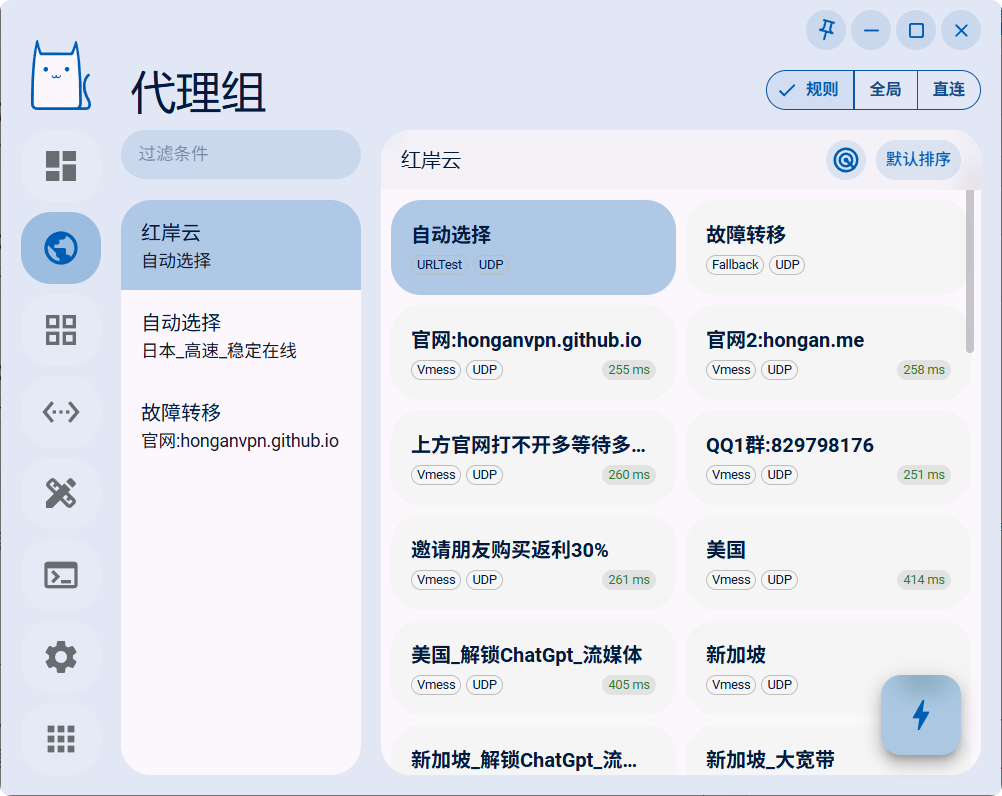
Switch nodes and policy groups
Open Proxy Groups to view policy groups and nodes, then click a node name to switch.
Outbound mode notes
The reference closes with outbound mode notes. For daily use, start with Rule mode and switch to Global or Direct only for testing or special access needs.
- Rule: route traffic by profile rules.
- Global: route all traffic through proxy.
- Direct: bypass proxy for all traffic.